Quilt Backing Calculator — Yardage & Panel Layout
Compare horizontal and vertical backing layouts, seam placement and fabric yardage. Get a proportional diagram, cutting list and printable plan.
Quilt backing · fabric and seam plan
Compare fabric layouts before you cut
3.875 yd of fabricHorizontal seams · centered layout · 2 fabric lengths
All measurements and allowances are editable; changing the seam direction can change print direction.
Adjust your projectWhat this plan includes
- Usable fabric width after selvages
- Both sides of each seam
- Squaring allowance for each cut length
- Purchase rounded up to your shop’s increment
No diagonal piecing, pattern matching or shrinkage allowance.
Your quilt and fabric
Enter up to three decimal places. These examples are starting points, not universal quilt sizes or longarm requirements.
Choose seam direction and placement
Compare these four straight-panel plans. The smaller purchase is not always right for a directional print or your quilter’s loading method. “Centered” uses a whole center panel with symmetric sides to avoid a middle seam.
Your backing and cutting plan
Horizontal seams · centered layout
Quilt top 60 × 72 in; 4 in overhang per side; 42 in usable fabric width; 0.5 in per sewn edge; 1 in squaring extra per cut length.
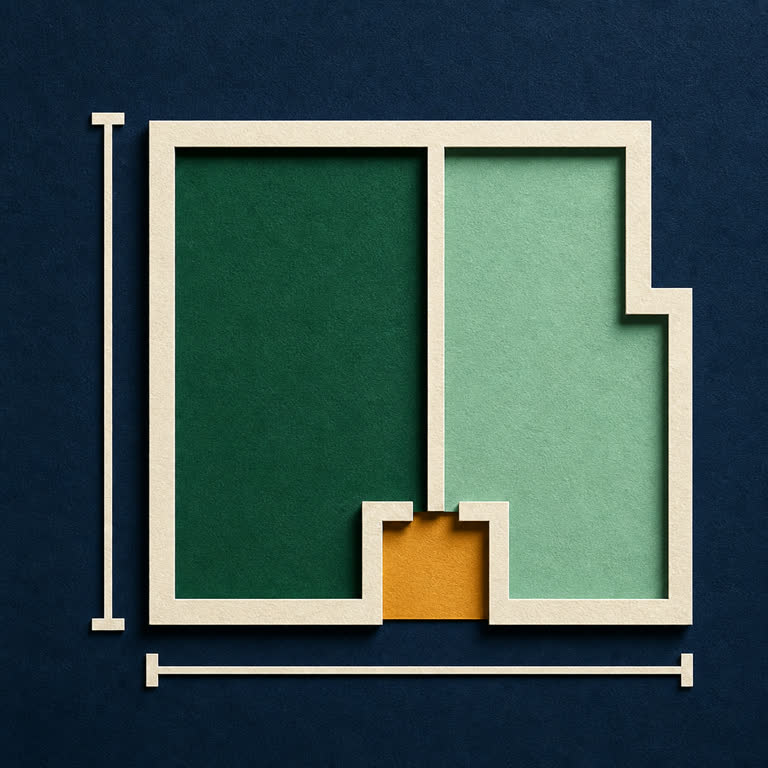
Solid inner outline: quilt top. Dashed outline: required backing. Coloured panels include seam losses; 1 in is trimmed from each outer side of the assembled span. Squaring allowance is not drawn.
Cutting sequence
- Cut 2 full-width lengths, each 42 × 69 in.
- Square each length to 68 in, using 1 in of allowance.
- Split one length lengthwise into two 21 in wide side panels. Keep one 42 in wide center panel.
- Join the three panels with 0.5 in seam allowance on each edge; press and measure.
- The assembled blank is 68 × 82 in. Centre the 68 × 80 in required backing and trim the surplus.
138 in unrounded fabric length. Buy 3.875 yd in 0.125 yd increments; 1.5 in remains beyond the cut lengths.
Why seam placement can change yardage
Two 42-inch widths joined with ½-inch seam allowances cover 83 inches. Splitting one width into two side panels creates a second seam, leaving 82 inches. At a required span above 82 inches, the centered option may need a third length even when two full-width panels fit.
Overhang is separate from seam loss
Four inches on each side adds eight inches to both quilt dimensions. It does not replace seam allowances or squaring extra. Ask your quilter how much backing is required for the actual machine and loading direction; the default is an editable planning choice.
Use the actual fabric width
Measure after removing selvages. Nominal 108-inch wide-back fabric may have less usable width, especially after washing. Enter prewashed usable measurements or add your own allowance before planning; this tool does not predict shrinkage, print repeats or diagonal piecing.
Sources and the next step
The University of Tennessee quilt-camp guide, page 18, explains usable width, sewn-edge allowances and center/side panels. The Quiltblox backing guide illustrates alternative seam layouts. Check measurements before cutting. For a corner-to-corner cut and one diagonal seam, use the diagonal quilt backing planner. For the finishing edge, use the quilt binding calculator.